As an Amazon Associate, I earn from qualifying purchases.
If you are proud of displaying your brand on your jacket sleeve or you simply want to show off the skills and medals you obtained during summer camp, then you must learn to take care of those iron patches. Aside from displaying brands or certain achievements, patches can also be used to hide certain problems such as torn or damaged spots on garments and accessories. You need to learn to separate patches from the fabric, before ironing on them. Likewise, you need to also take care of issues such as making patches stay in place after you wash them.
Step 1: Prepare the iron on the patch
 You need to understand the kind of patch you have. While some have fabric glue at the back and require a heat seal, others have cloth at the back. Make sure you examine the patch and see if you will need some extra material.
Decorative custom embroidered patches are usually thicker and stiffer, they seem to have some fabric glue at the back, while the transferred paper patches on are non-glossy prints on paper, which can be used in holding torn clothes together. Some patches come with simple cloth backing, while others are simply designed to blend with fabric. These are not as tough as custom embroidered patches.
Keep in mind that garments made of denim or cotton will provide a better base for ironing. You also need to consider the label of the custom patch to see if it can be ironed. Even if there is no label on the patch, make sure you consider the type of fabric it is made of. Make sure you don’t apply high heat when ironing polyester fabrics. High heat may burn the fabric of the patch or even discolor it. Silk and other delicate patches should not be ironed with heat.
Step #2: Consider the patch design and placement before ironing
 Just before heating up your iron, simply lay out the jacket and consider the positioning of the patch(es). Likewise, you should consider where the patch will be placed if it has not been placed already. If you have just one patch to iron, simply place it in the best prominent and glaring place on the fabric, which also means you must make it appear intentional.
If you are planning on ironing more than one custom patch, make sure you make adequate space to accommodate as many patches as you can. Take note that, if you are making use of a printable paper patch, consider the fact that asymmetrical items and letters must appear in reverse.
Step #3: Ironing your patch
In order to iron your patch successfully, simply follow these steps:
Step #1: Simply lay the base item of the patch on a flat and heat-resistant surface.
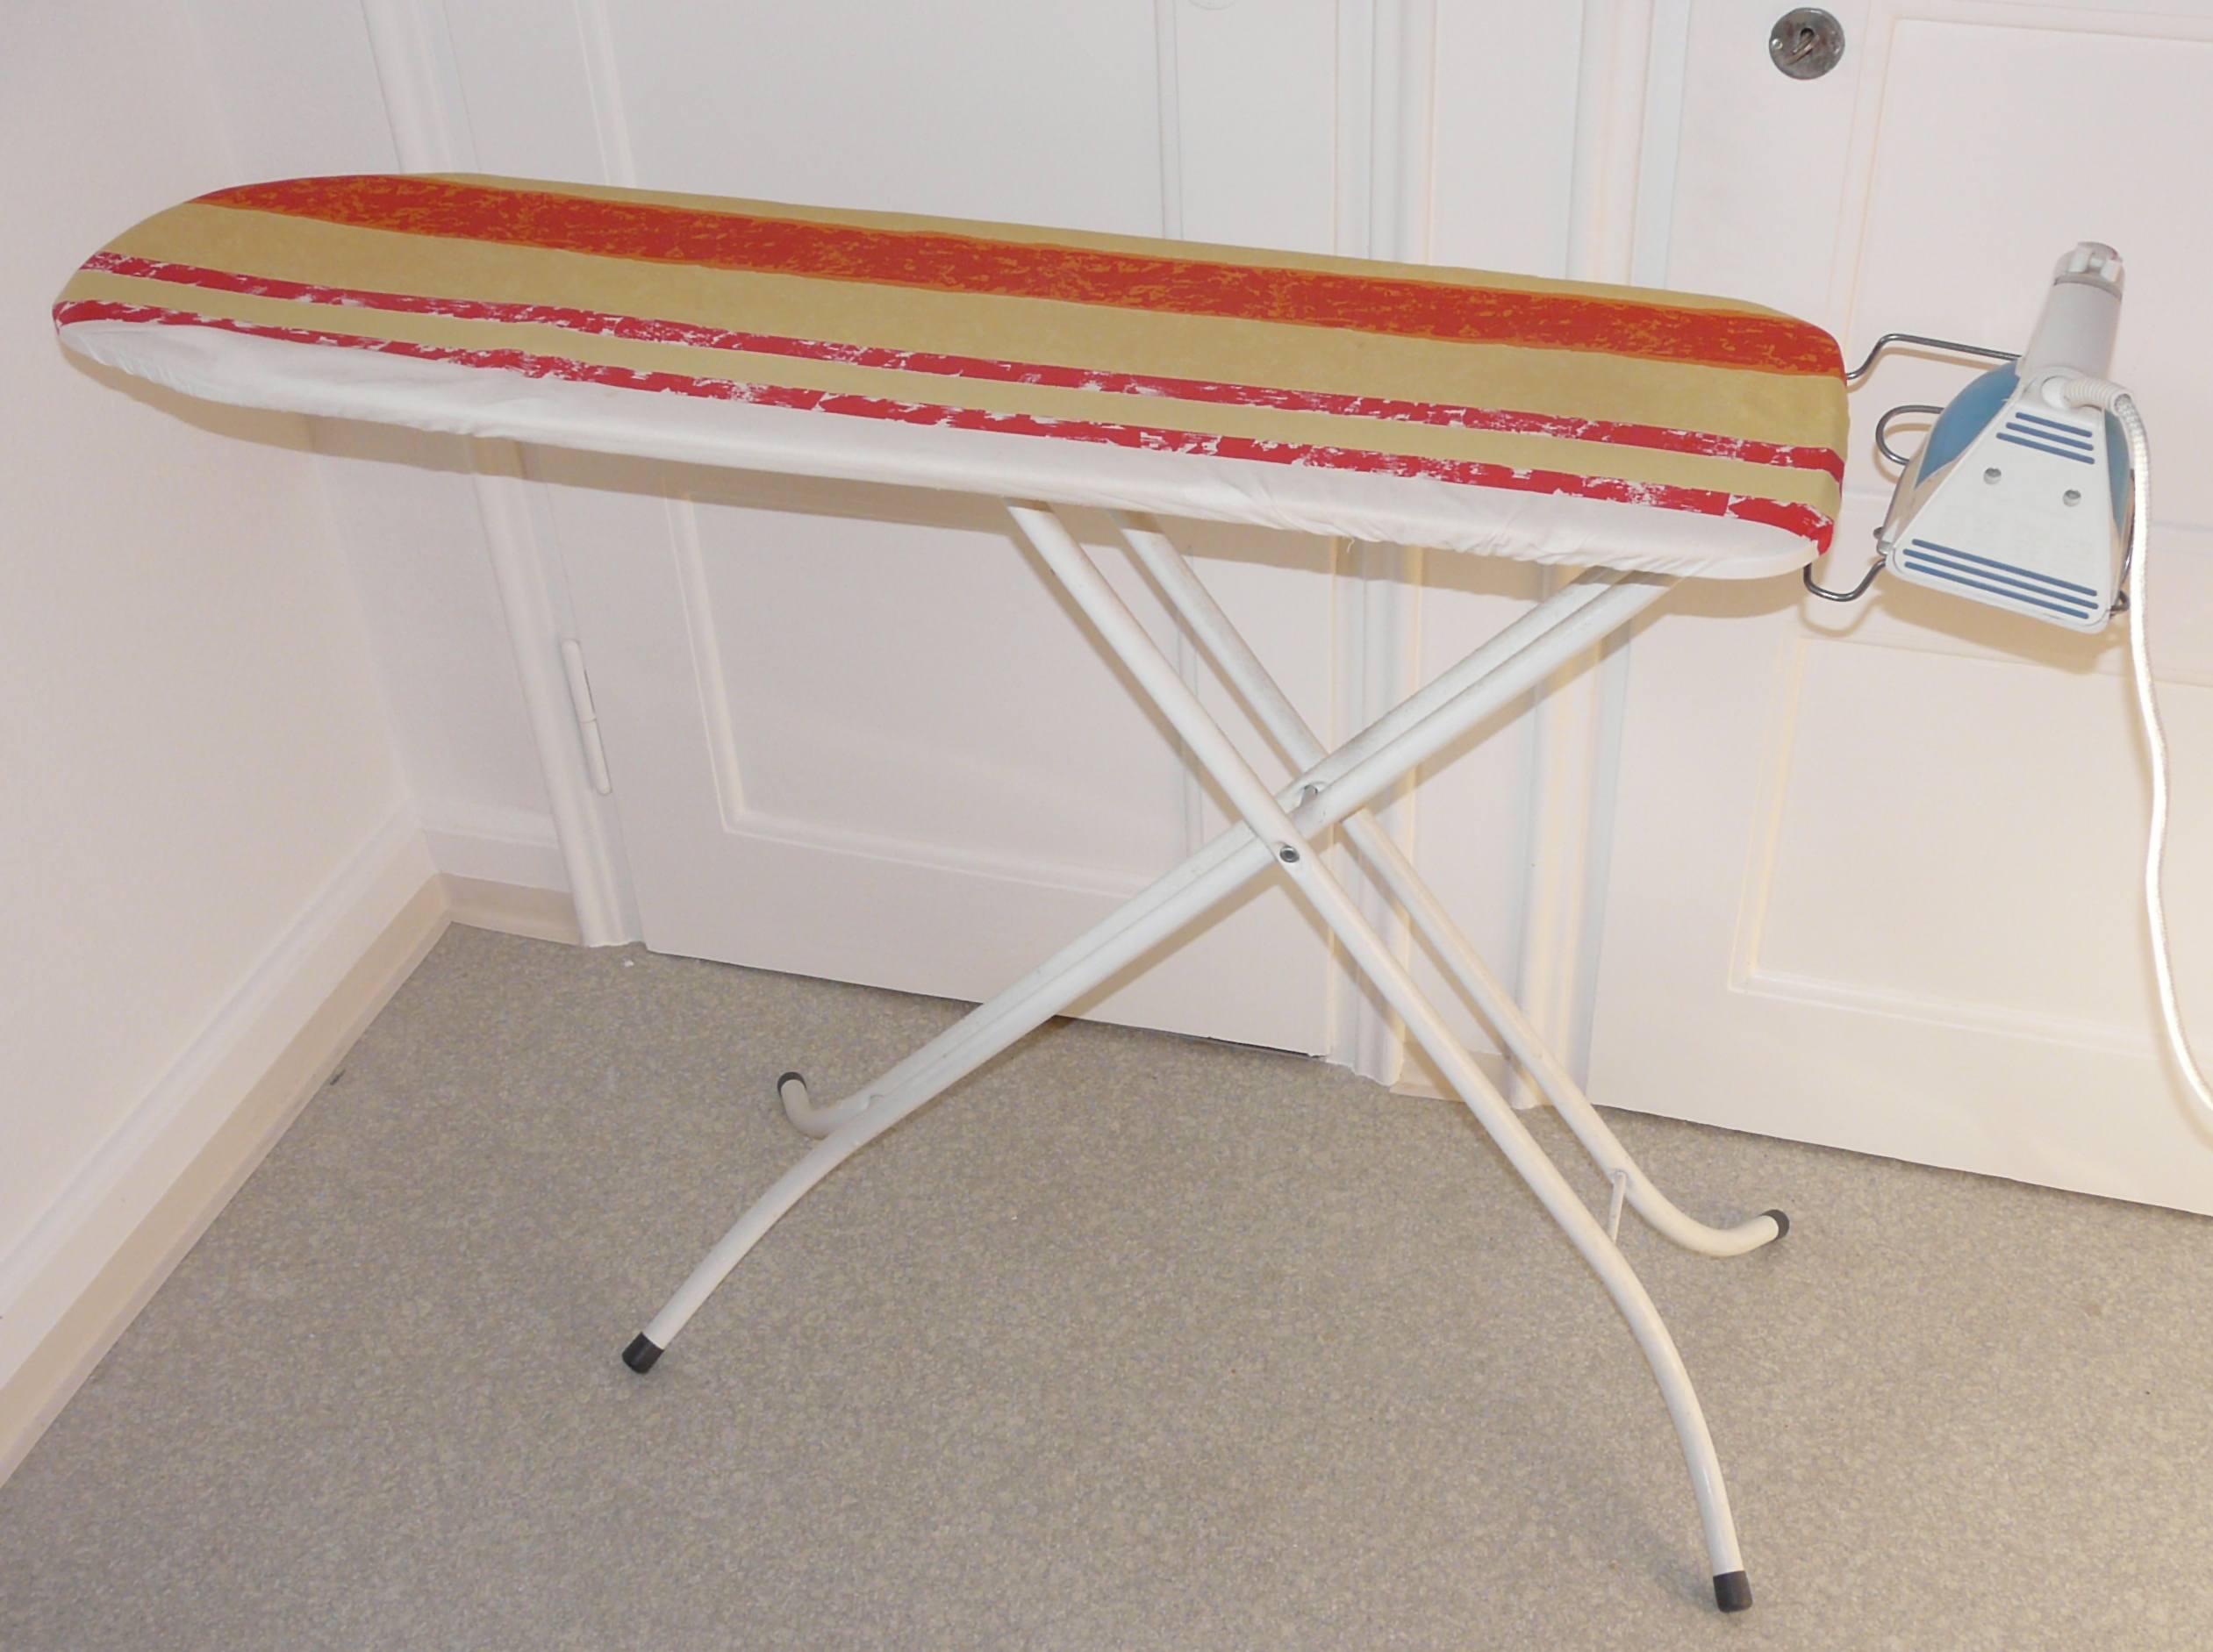
 You should consider making use of an ironing board. If you don’t have one, you can use a folded bath towel on a solid table. In order to ensure that the base item provides a solid base, make sure you can iron on it first.
Make sure it is arranged in such a way that that portion of the fabric that will receive the patch is totally flat against the ironing surface.
Step #2: Simply place your patch in the position you have chosen
Make sure the adhesive side is placed flat against the base of the fabric and the fabric is not crooked. Take note that the adhesive side is usually located on the underside of embroidered patches, while the adhesive side is normally located on the side where the image is located on transfer paper patches. If you are using a patch that is expected to blend into a fabric, you may have to apply such a patch to the reverse side of the fabric and make sure you follow the simple instructions for completing the ironing.
Step #3: Simply heat up the iron
Make sure you turn the iron to the hottest setting that the fabric can tolerate and make sure you turn off the steam option and try to avoid filling up the water area of the iron with water (just a little water is needed).
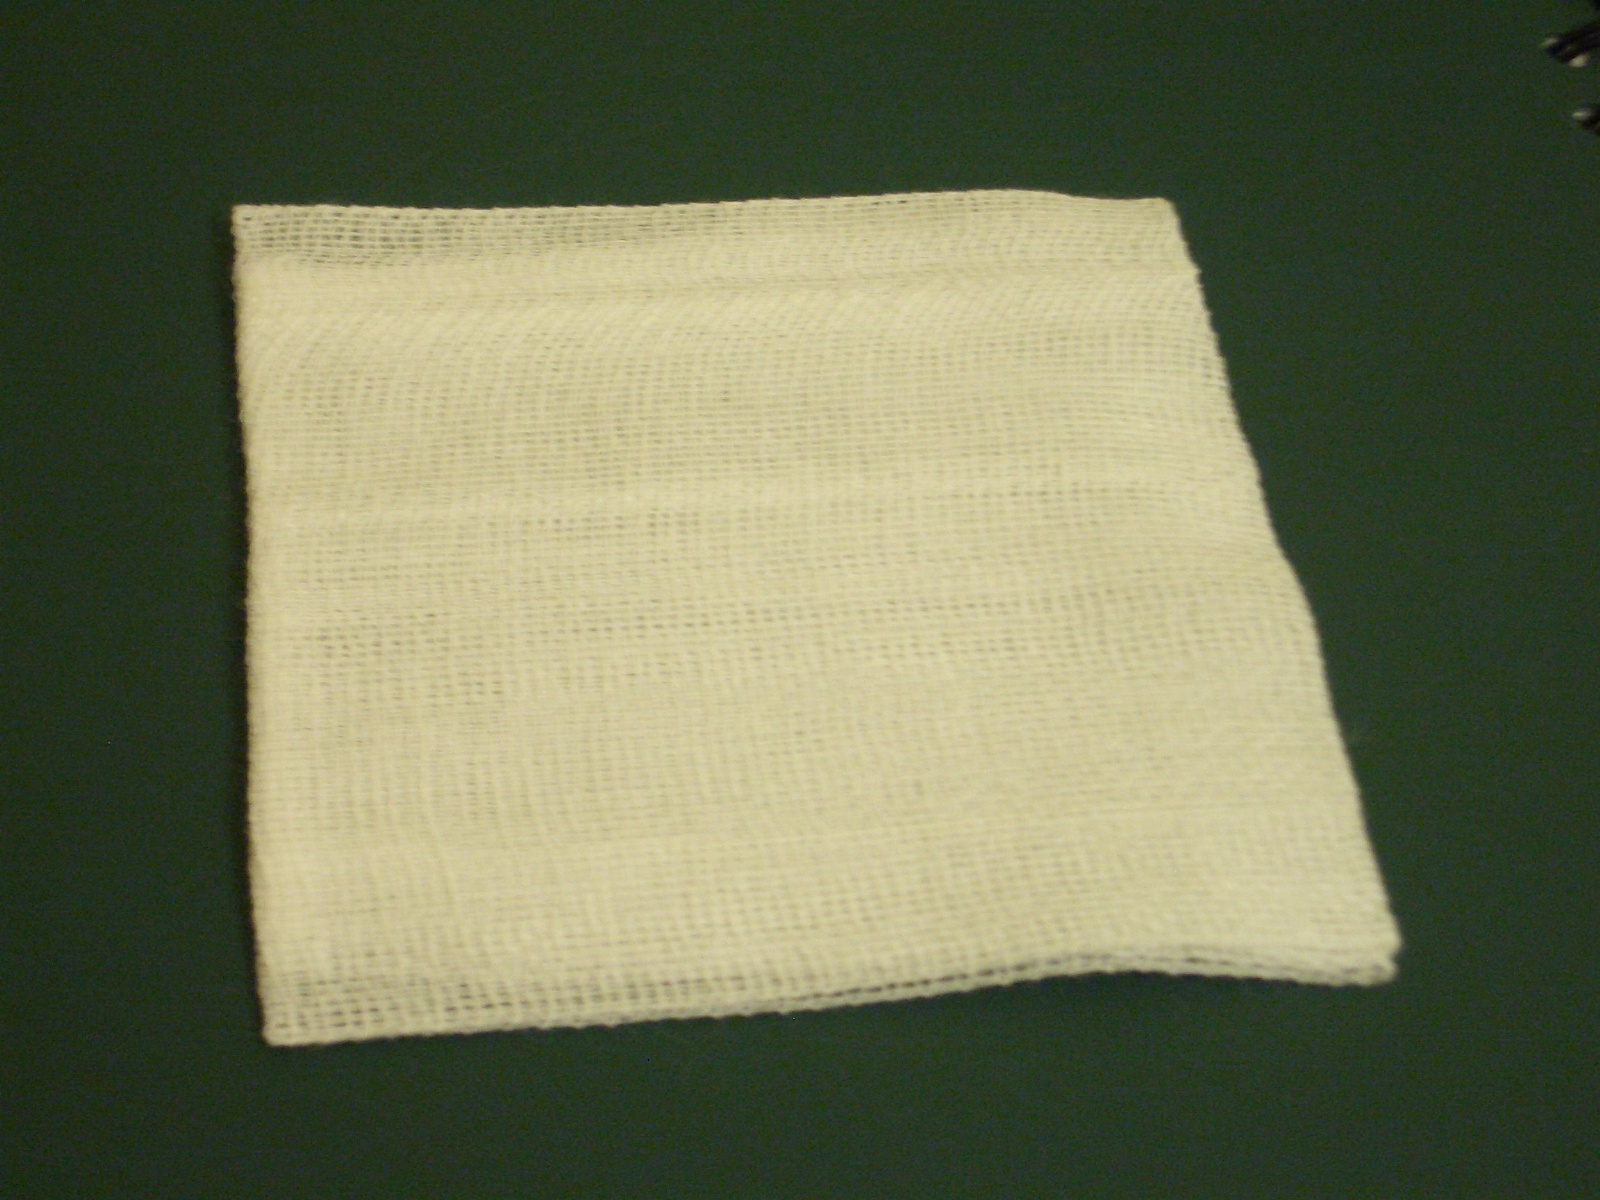
Step #4: Gently place a thin towel on top of the patch
 Make sure you do everything possible to avoid disturbing the position of your patch, and a thin towel on top of the patch will simply protect the patch as well as the surrounding fabric.
Step #5: Place the iron properly over the patch (with a towel on top of the patch) and then press down. Make sure you hold the iron down for about 15 seconds and make sure you apply as much pressure as you can on the patch, while you press the iron down firmly.
Step #6: Remove your iron and let the patch cool
Lift up the towel and check if the patch has been securely fixed on the fabric. Gently rub the edge of the patch with your fingers and try to lift it. If the patch lifts up, simply replace the towel and then press for 10 seconds.
Step #7: Caring for your patch after ironing
 This step may not be necessary but it may be better if you sew around the edges of the patch. Sewing around the edge of a patch with a needle and a thread is one of the best possible ways of securing it to the fabric. This will ensure that the patch does not fall off. When taking this step, make sure you choose a thread that matches the color of the patch and fabric. This step is only ideal for embroidered patches, so do not make attempt to sew around paper patches.
Secondly, make sure you don’t wash the fabric with the patch more than necessary. The reason being that iron patches are expected to last permanently when you wash them frequently, they will loosen up and fade.
Amazon and the Amazon logo are trademarks of Amazon.com, Inc, or its affiliates.


