As an Amazon Associate, I earn from qualifying purchases.
Microsoft Word users often run into problematic pages from time to time and that is having a blank page or problematic page either in the middle or the end of a document. Unwanted text or pages in Microsoft Word may contain some page breaks, section breaks, and empty paragraphs. There are quite a number of options you can explore in order to remove an unwanted page in MS Word, hence one of the first things you need to do is to ascertain the reason why the unwanted page is there.
 Take note, if your black page appears only when printing and isn’t visible in the document, then you probably need to reconfigure your printer (you may need to remove the separator page which may have been added for printing purposes between printing jobs). Make sure you change the printer settings.
If you wish to remove, text, a paragraph or page contains words or images, at the top left of the section you want to remove, while holding the mouse or trackpad, simply left-click (with SHIFT) and scroll to the end of the section. Once highlighted, simply press “Backspace”. If you wish to remove an entire document, then you just have to go to the folder where the document is stored and right-click before choosing the “Delete” option.
If the unwanted page is located at the bottom of a document, there is an easy way you can delete it. Simply scroll down to the bottom of that document by typing CRTL+End, and then press the back tab. If the blank page occurs due to added paragraphs, then this process should remove it quickly. If the document contains numerous pages you hope to remove trough this method then you may need to press backspace (delete) several times. If these methods suggested above did not work in removing an unwanted page in Word, then you will have to conduct further investigation. You can also take the following steps if deleting unwanted pages on MS Word is proving difficult:
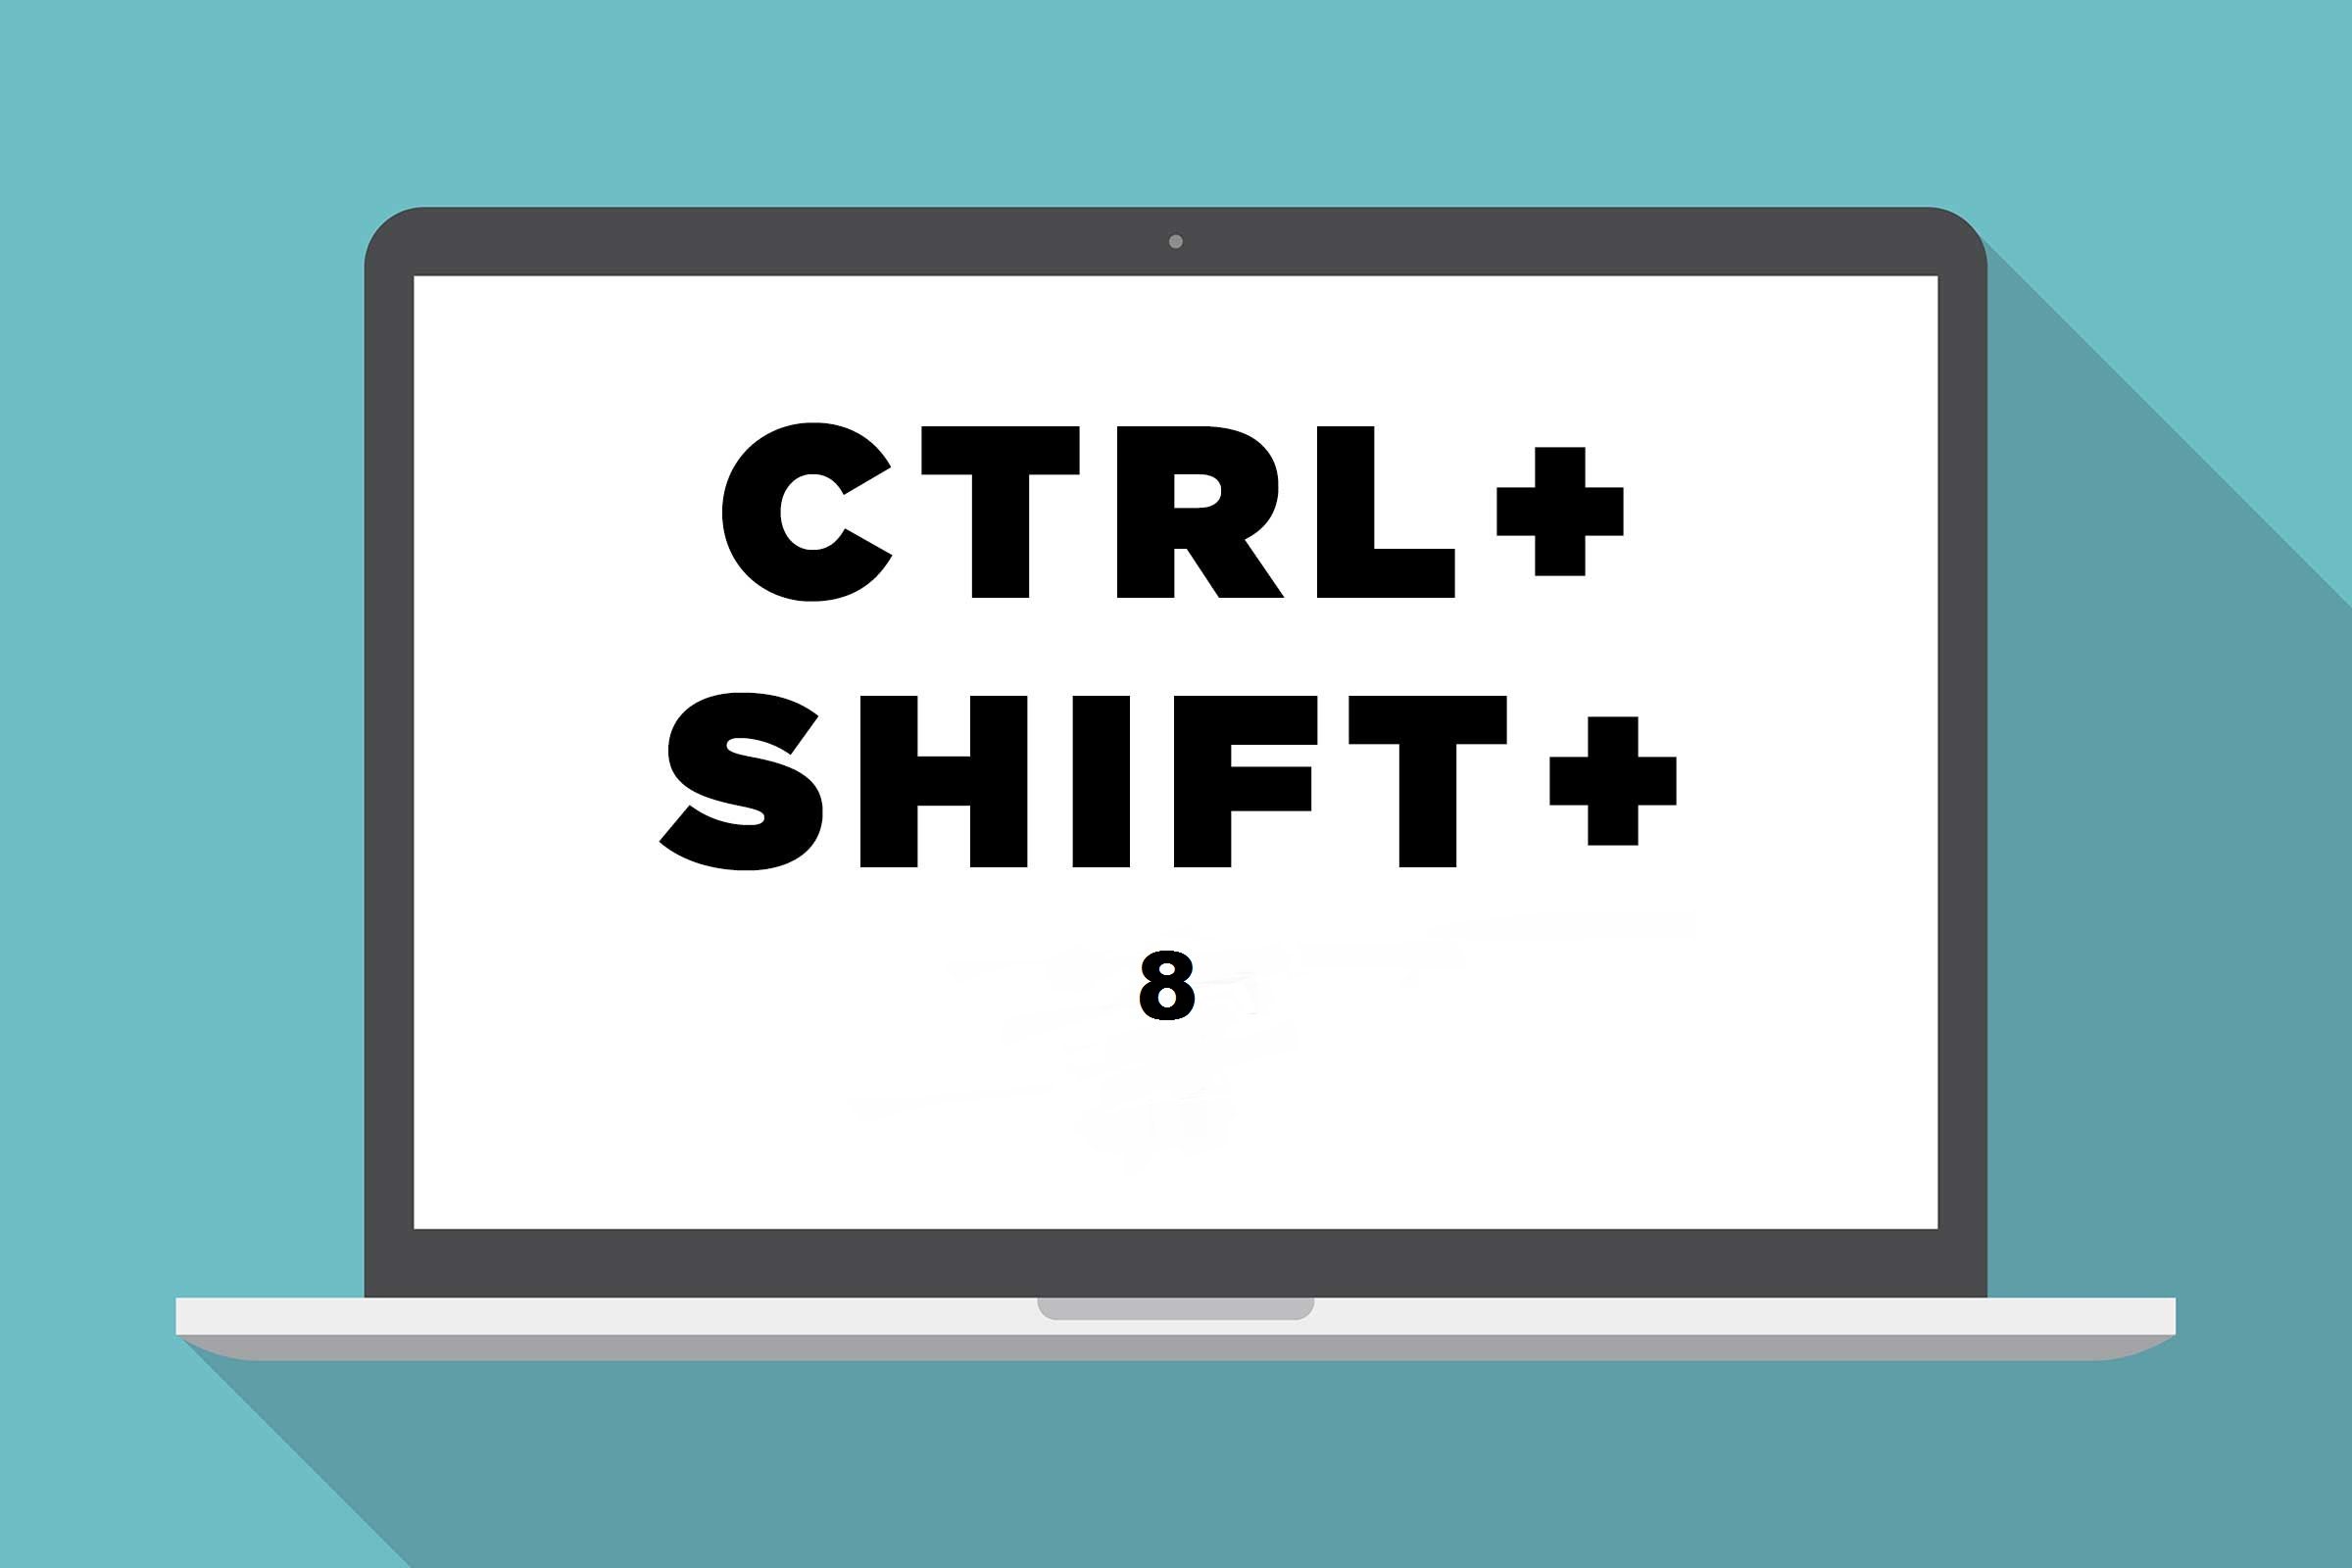
 Step #1: Turn on the “Paragraph marks” in order to see the main cause or causes of the blank section/page, then hold down CTRL+shift+8.
Alternatively, you can press Show/Hide, located on the “Home” tab. Once “Paragraph marks” is switched on, it is easy to identify the main cause of blank page on your word document.
In the case of having additional paragraphs or extra blank page at bottom of the document, you may notice blank paragraph marks. If so, simply select the paragraph marks on the pages and click on “Delete” to remove them.
If there are manual page breaks triggering the empty pages on your word document, all you have to do is to position your cursor at the top of the page break and then click on “Delete” to remove them. If the unwanted page is caused by a section break or other issues such as “Next page”, “Even” or “Odd page”, you may suddenly have a new page showing up in a Word document. Just in case the unwanted page occurs at the end of the document and you notice a section break around there, simply place your cursor just before the section break, and then press “Delete”, in order to remove the break.
If you find it difficult locating section breaks, simply click on the “View” tab of the ribbon and then switch onto the draft mode. You need to exercise some caution when removing a blank page located in the middle of your Word document, especially if it is caused by a section break.
You need to be aware of the fact that abruptly removing the section breaks may result in some formatting problems. In this case, you may have to keep a section break if you want your word document to keep its original formatting. Alternatively, you can just change the word document section break to a continuous one in order to preserve any formatting changes even after removing the blank page.
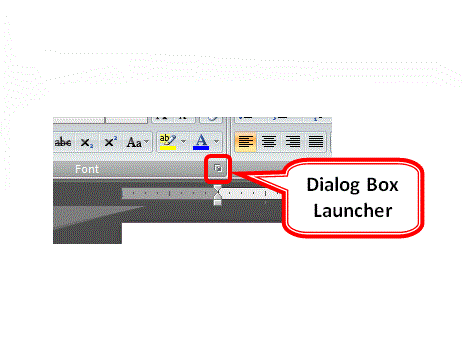
 Step #2: If you want to change a section break into a continuous section break, all you need to do is simply place the cursor after the section break that you want to change, then simply click on the “Layout” tab located in the ribbon and simply click on the page setup “Dialog launcher”.
From the layout tab of the page set dialog box, simply click on “Section start” from the drop down menu and then click on “Continuous”. Then click on “OK”.
Step #3: Sometimes, the unwanted page at the end of your document may be as a result of a table located on a page preceding the unwanted page. The table may go all the way to the bottom of the preceding page, but Word format requires that there must be an empty paragraph should precede a new page; otherwise, if the table extends to the bottom of the preceding page, then it will push some into a new page.
This also means you will not be able to remove the unwanted page. The best possible way to handle this situation is just to hide the empty paragraph located at the bottom of the document. You can follow these simple steps:
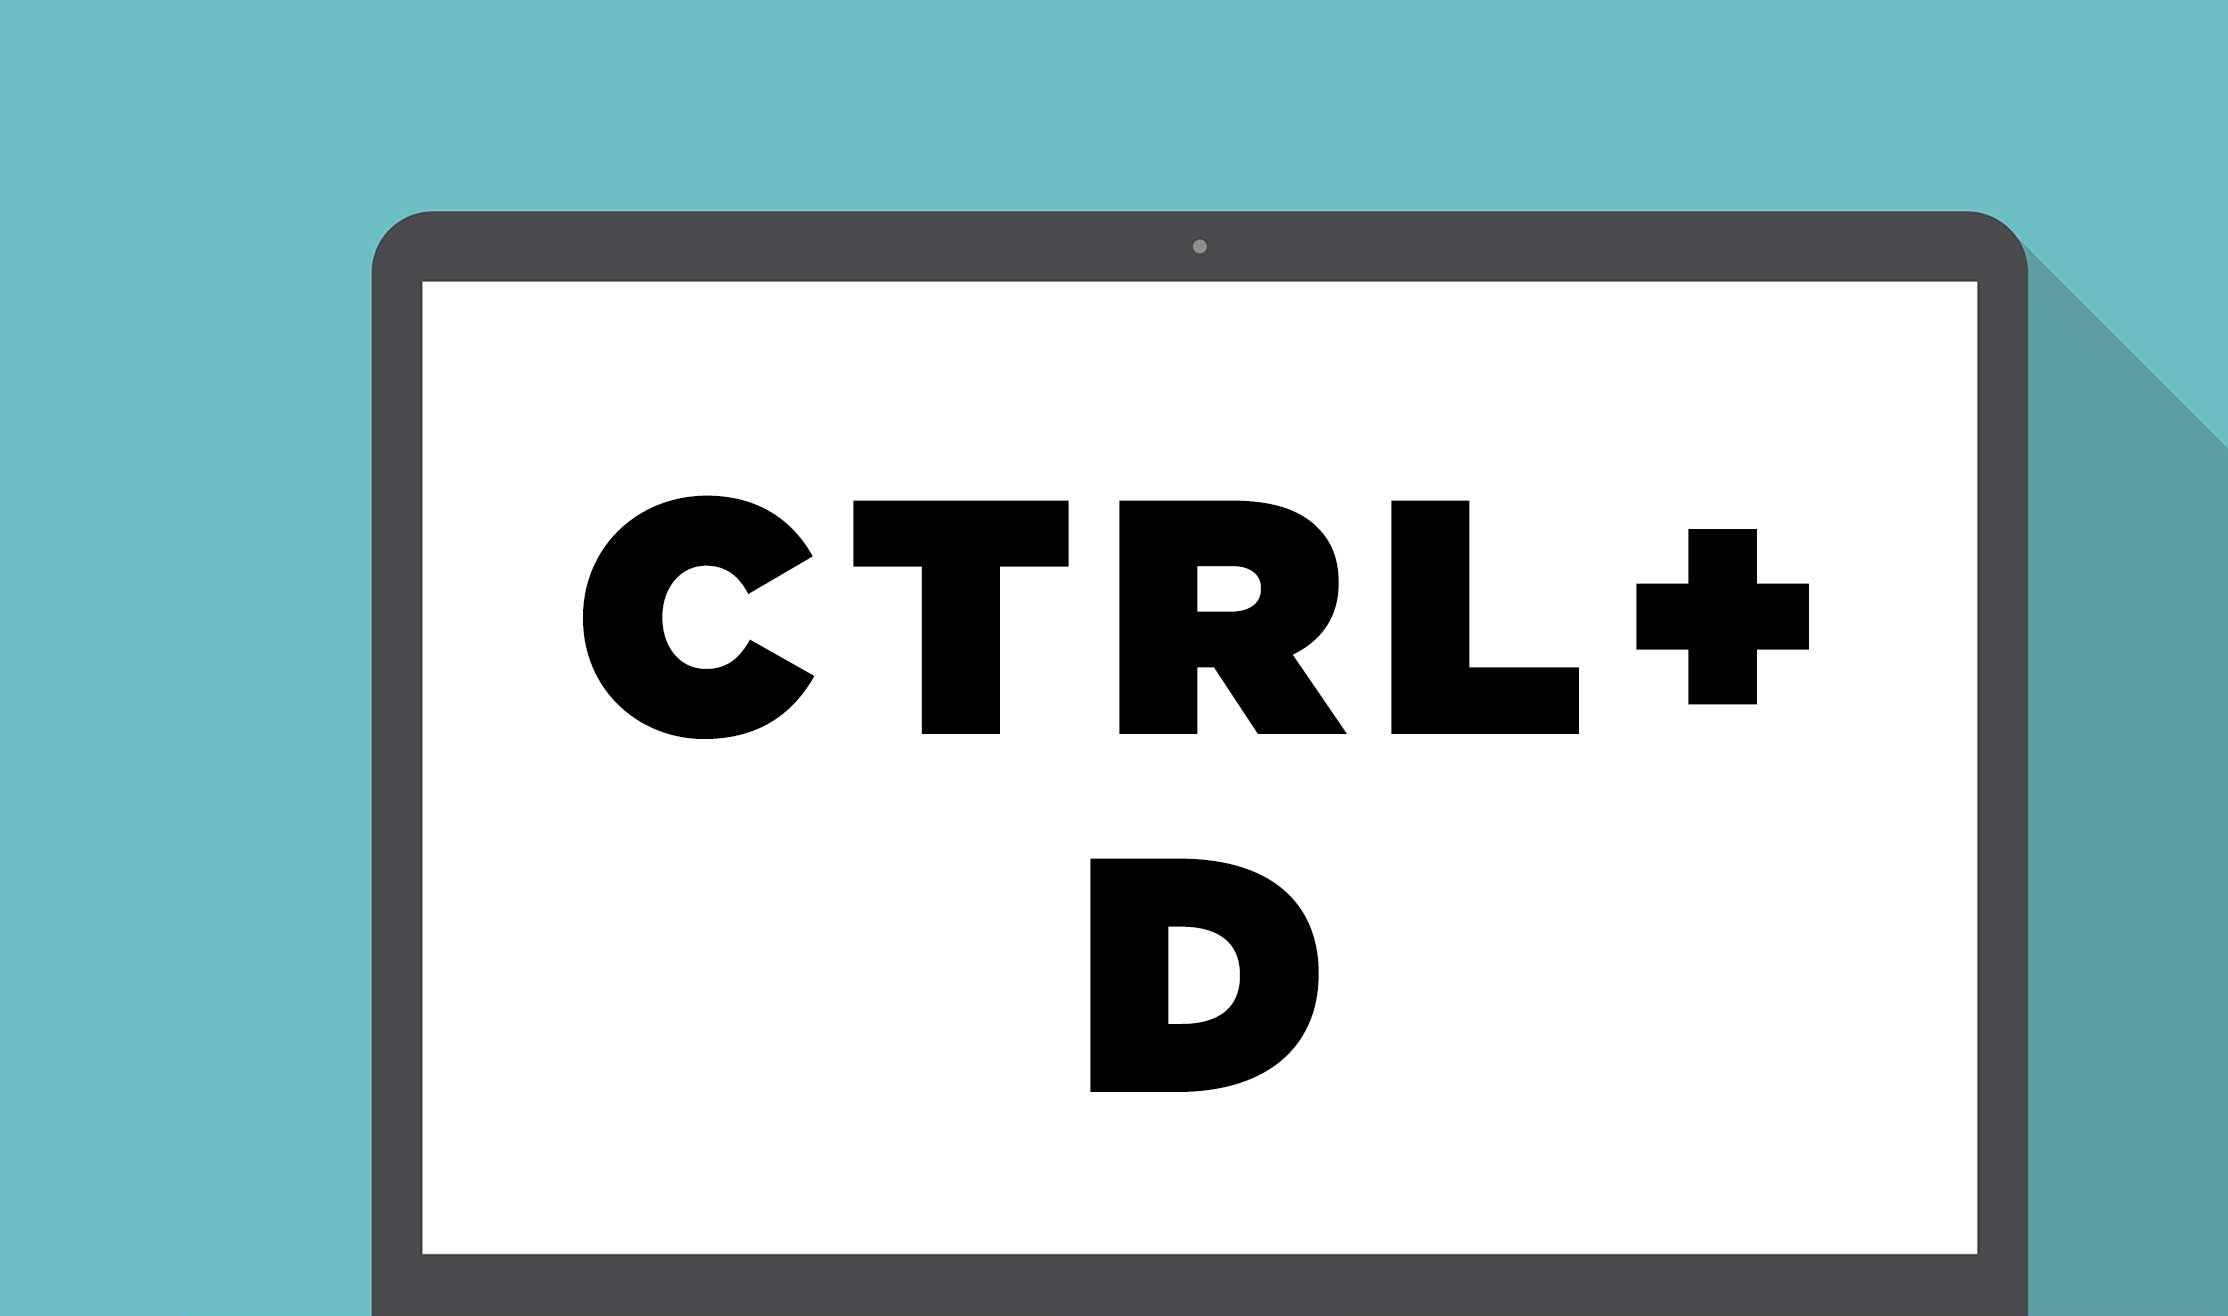
 Step #1: Choose the paragraph mark and then click on CTRL+D open the font dialog.
Step #2: Tap on the hidden check box in order to hide the empty paragraph.
Step #3: Simply turn off the show-hide icon clicking on the button (it is located in the ribbon). Alternatively, you can also turn the “Show/Hide” option off by pressing CTRL+SHIFT 8 and the extra page will simply disappear.
You need to check that the document you are working on is properly formatted before you start typing. This will help you avoid the appearance of unwanted pages.
Amazon and the Amazon logo are trademarks of Amazon.com, Inc, or its affiliates.
