As an Amazon Associate, I earn from qualifying purchases.
Drawing a flower should be easy , when the following simple steps are followed;
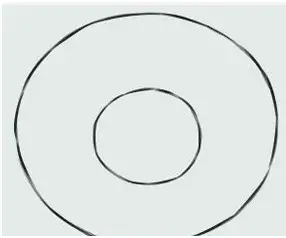
#1: T draw a sun flower for instance, simply start by drawing a large circle and then add a smaller circle inside, as shown in the picture below;
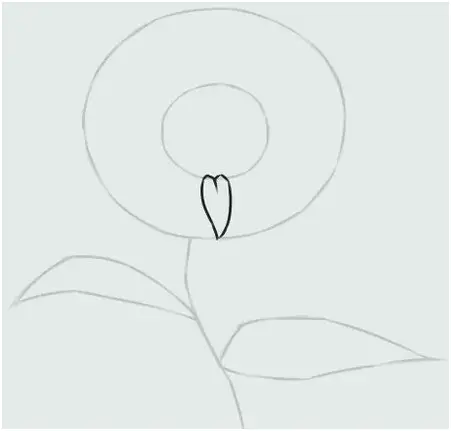
Step #2: Your next step is to draw your leaves and the stems on each side of the circles, for your petal, you should draw a thin and elongated shape (like that of the heart), as shown in the picture below;
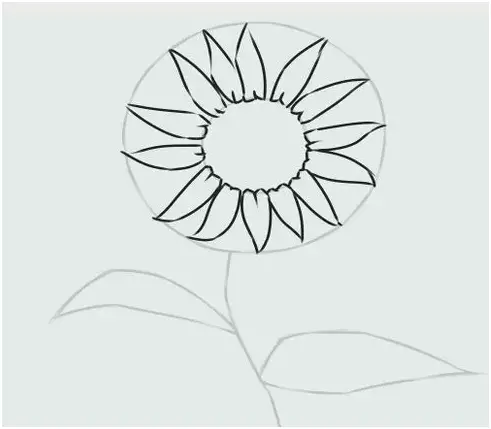
Step #3: Repeat the second steps until the inner circle edges have been completely covered. You should have an image like the one below;
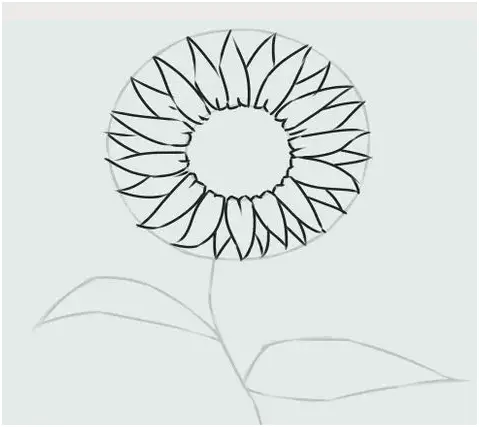
Step #4: With the use of the pointed angles, you can add more petals until all the empty spaces have been covered. Your new picture should look like the one below;
Step #5: Draw some slanted lines, in a crisscrossed manner, in the center of the inner circle. The lines should cross each other out.
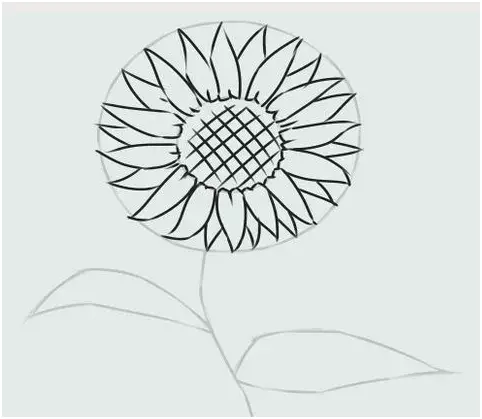
Step #6: Refine the details of the stem and leaves by giving some shades and adding lines to them.
Step #7: Add colours to your picture to give them even more details, as shown in the following picture;
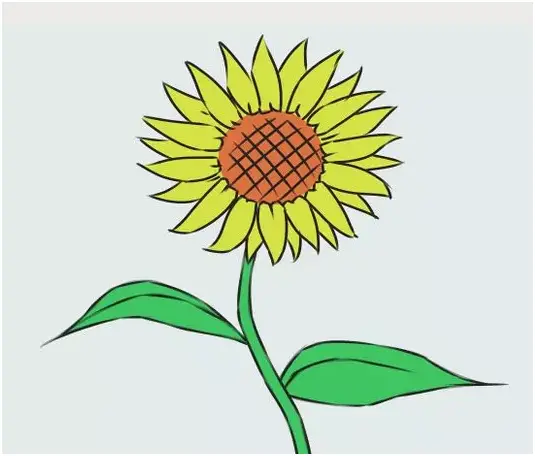
In cases where you need to draw some pictures such as a rose with a stem , stem with thorns, and some other flower pictures that require extra work, then you can follow these simple steps;
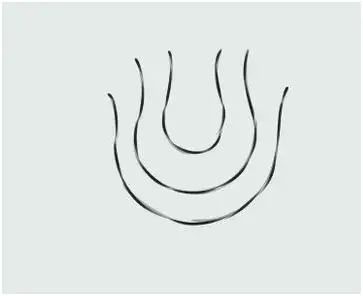
Step #1: to draw a rose flower with a stem, simply draw three curved lines as shown in the picture below. Make sure the curved line below the upper one is slightly bigger, while the bottom curved line should be the largest.
Step #2: Draw a vertical curved line – this will represent the stalk, then simply add a leaf on the right side of the stalk, as shown in the picture below;
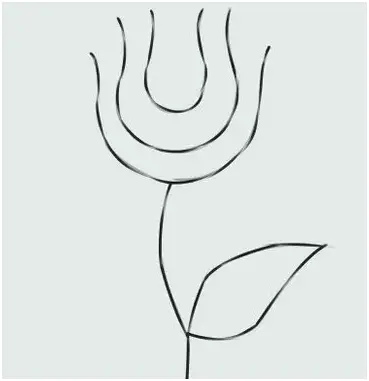
Step #3: Create your rose by sketching a rough outline of it, before you start drawing the petals. You can make use of the “U” shape sketch first.
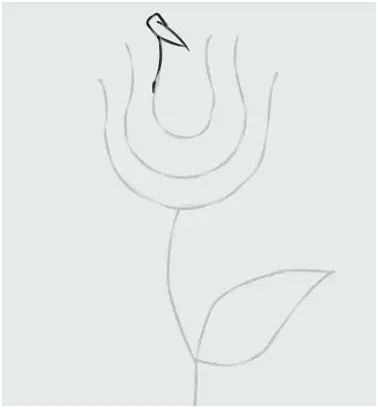
Step #4: when sketching your petals, make sure they appear overlapping each other. You should start with the first “U” at the top, as shown in the following picture;

Step #5: add more petal shape details on the second “U” of your flower
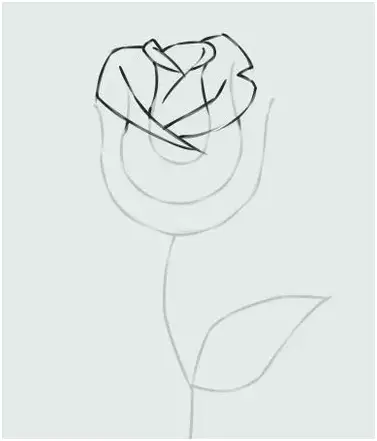
Step #6: Allow the sketches of petal on the first two “U” to guide you when drawing the petals on the last “U”. If you want a more appealing rose picture, you can add more petals.
Step #7: With the aid of pointed angles, you can simply add the sepals to your drawing.
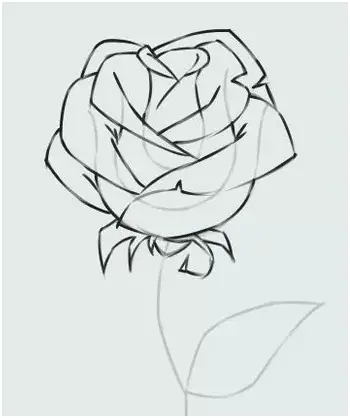
Step #8: Add some thorns on the stem , if the flower has thorns. You should keep in mind that thorns are best drawn with the aid of pointed angles. Make sure you add the details to the leaf of the leaf of the rose and make sure you don’t forget about the serrated margin.
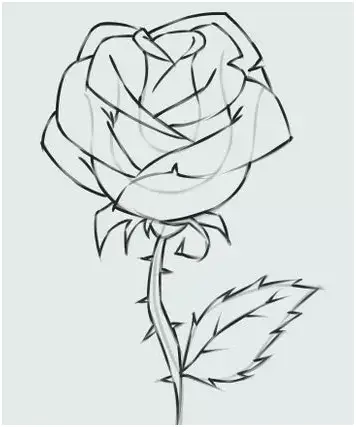
Step #9: add some colour to your drawing, remember, the petal can be red, pink or something much brighter while the stem and thorns should be green or brown.
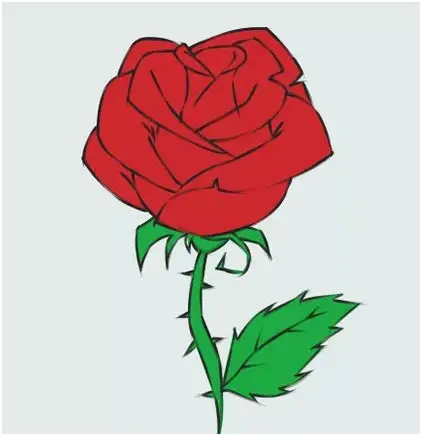
Drawing a rose flower without a step can also be interesting just like the drawings above. You can follow these simple steps to achieve this.
Step #1: start with the interior border of the flower by simply drawing a circle. You need to add two extra circles in order to form the outer border of your power petals.

Step #2: you should add some rough structures to create a base for your petal- this may be hard for some people but it should work out fine.
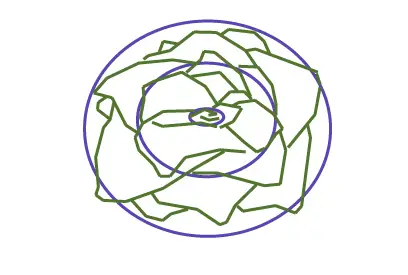
Step #3: Draw some final lines to further emphasize your petals, as shown below;

Step #4: add some colours to your petals and then add some shadows before placing the definition lines.
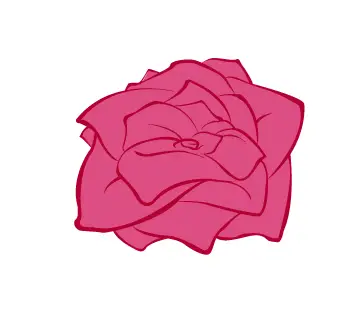
If you want to draw a Daffodil, the usual start steps here will be different, but they are still simple enough to be completed;
Step #1: Start the flower leaves by simply drawing an oval, to create the outer edge for your flower leaves.
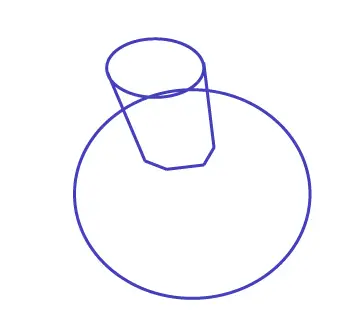
Step #2: Create another but smaller over figure that connects at the top, through the parallel lines. This will create the top of your flower.
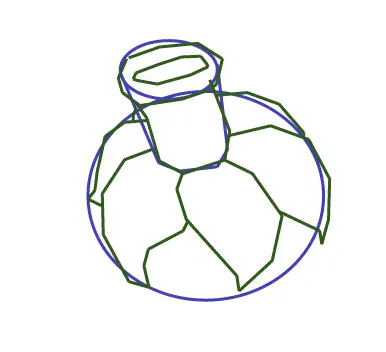
Step #3: Draw a rough sketch of the flower as well as the leaves, as illustrated by the following picture
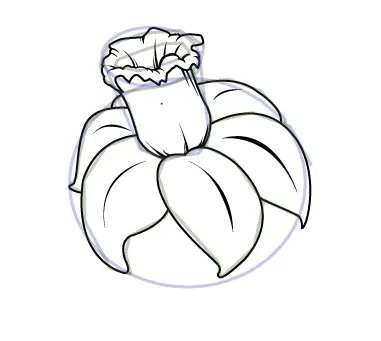
Step #4: add the final lines for your flower and leaves and add the appropriate colours as shown below. Take note, you can also put some definition lines as well as the shadows to your flower.
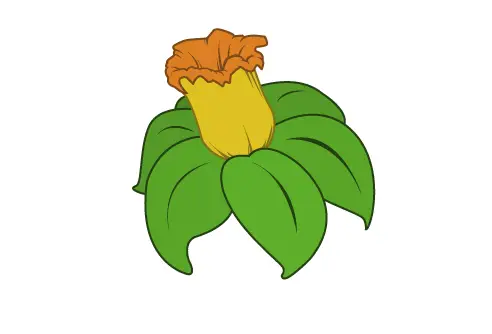
Drawing a Cosmos flower can also be exciting, and the beginning is similar to other flowers explained above.
Step #1: Draw a circle, then have a sketch of another circle in the center of the first circle

Step #2: Sketch your petals all around the outer bigger circle, and make sure the petals are of the same shapes and sizes.
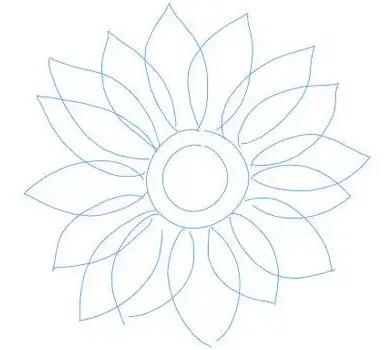
Step #3: Create the flower stalk by sketching a thin straight line below and then go back to the semi inner circle and draw some smaller semi circles. This will help create a flower-like structure.
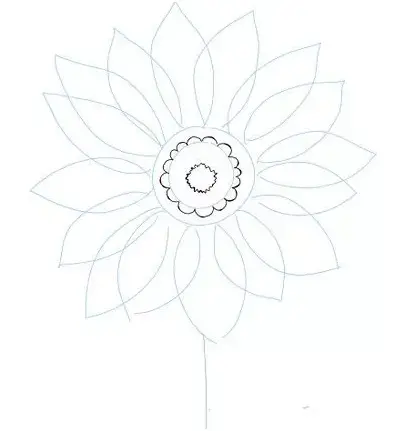
Step #4: Create and draw the basic outlines of your petals and make sure the front petals are differentiated from those at the back. Create the outline for the bigger circle as well as the stalk, as shown below;
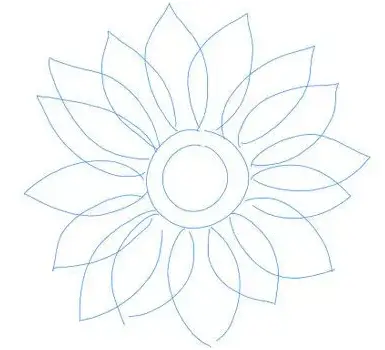
Step #5: Add some colour to your flower
Conclusion
Drawing a flower should not be a difficult thing, most flowers will start with two circles, and you can gradually build other components such as the stalk, leaves and petals on the outer circle. In the case of a Tulip flower, a single circle with a long and slightly curved stalk is the perfect way to start before adding the leaves and flowers. Tulips do have long flowering structures, hence you will need to draw several lines when you are creating this flower.
Drawing a flower is fun, there are so many kinds of flowers you can practice with, but make sure you have a view of the outer part first for drawing the inner parts.
Amazon and the Amazon logo are trademarks of Amazon.com, Inc, or its affiliates.

